Why Clean Your Brita Pitcher Regularly?
Brita pitchers are a convenient and affordable way to get clean drinking water at home. However, if not cleaned regularly, impurities and carbon dust could build up and the filter pitcher can become a breeding ground for bacteria and other microorganisms. Thus, it is important to clean your Brita pitcher regularly.
Always use warm water and mild dish soap when cleaning your Brita water pitcher. You can also use a ratio of 1:1 water-vinegar mixture to kill mold spores and remove scale buildup. Then rinse the parts of the pitcher with cold water until all traces of soap have been removed.
How to Clean a Brita Pitcher?
Cleaning your Brita water filter pitcher regularly is an effective way to ensure you have access to clean, pure drinking water. Doing so can help prevent sediment from building up in the filter, allowing for a smoother taste and better filtration of contaminants. To learn more about what kinds of harmful contaminants Brita filters can remove, check out our latest Brita Review.
Here is a step-by-step guide on how to properly clean your Brita water filters:
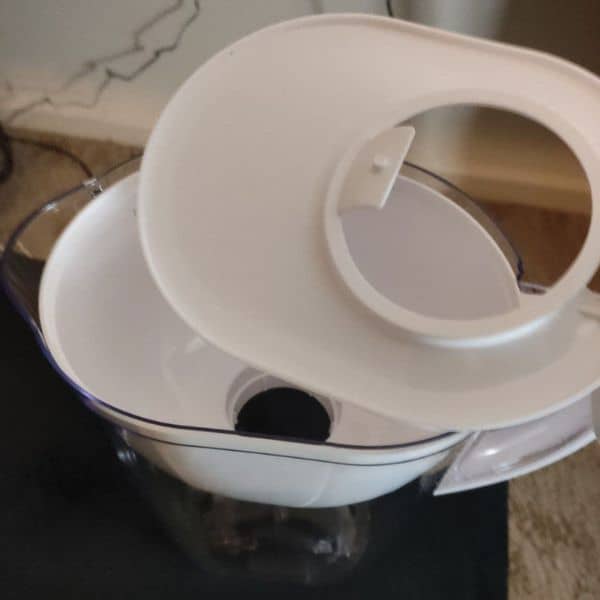
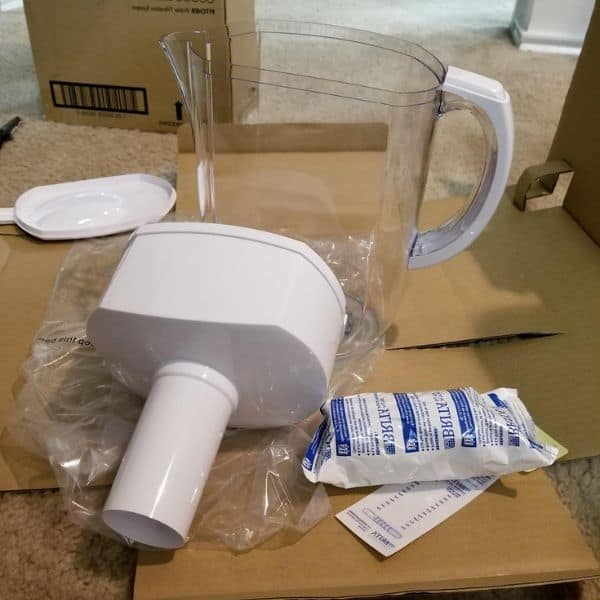
Disassemble pitcher
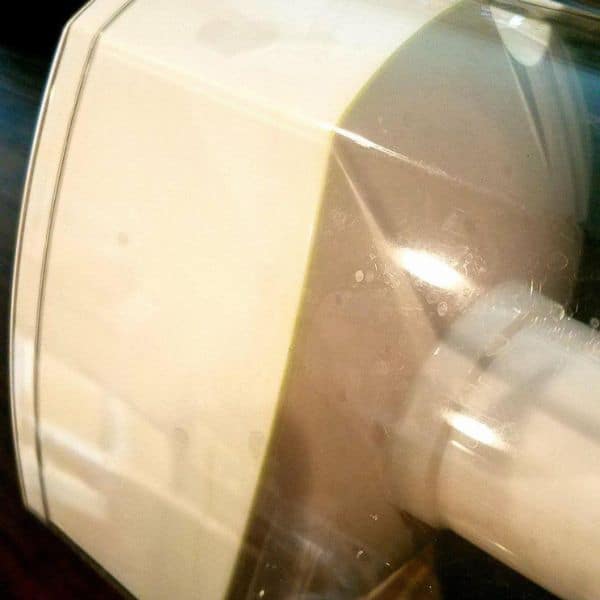
To begin cleaning, you must disassemble the Brita pitcher filter into smaller components. The pitcher comprises five parts: the lid, filter, reservoir, spout cap, and top cover. Disassembling the parts helps ensure they are all cleaned effectively.
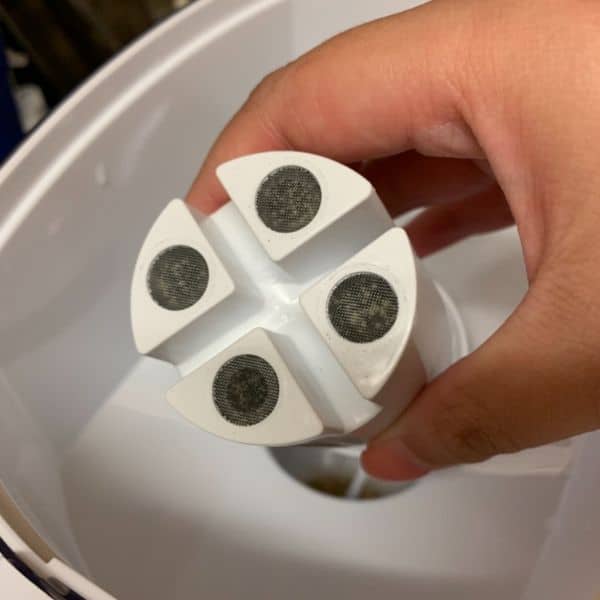
Remove the filter from the pitcher.
Removing the filter from the pitcher is a crucial first step. Doing so will help ensure your water is safe, healthy, and free of any bacteria or other contaminants.
First, lift off the lid of the pitcher and find the handle on top of the filter. Carefully pull up on this handle until you can remove it from the base of the pitcher. Then, take out both pieces (the handle and filter) and place them side by side on a flat surface. Now, you can use warm water and mild soap to wipe down both pieces thoroughly until they are completely clean.
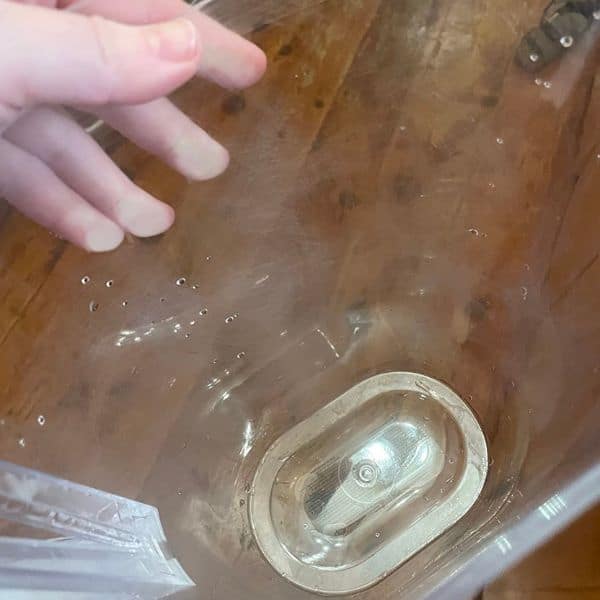
Clean lid and reservoir
After removing the filter from the pitcher, ensure you clean the lid and reservoir. A simple cleaning process can help keep your water tasting fresh and free of residue or dirt build-up.
Start by wiping down the outside of the lid with a damp cloth to remove any dust or debris. Use a bottle brush or soft sponge to gently scrub away dirt from inside the lid and around its rim.
For more stubborn deposits, use a few drops of mild dish soap diluted in warm water to wipe away residue. Rinse thoroughly afterward with cold water until all traces of soap are removed.
Remove mildew and limescale.
Also, remove mildew from the inside of the plastic housing. This can easily be done using a vinegar and water solution (1 cup of white vinegar for every 2 cups). Soak a sponge or dishrag in this solution and then use it to scrub away any mold or mildew residue inside the housing. Once you’ve finished wiping down the inside, rinse it with water before setting it aside to remove all traces of vinegar.
Rinse and air dry
Take apart the pieces of the Brita pitcher and rinse them with warm water. Use an old toothbrush or soft bristle brush to remove dirt or debris on each piece. Then, fill the empty pitcher with warm water and a few drops of dish soap; let it sit for about 10 minutes before rinsing thoroughly with cold tap water.
Then place all parts on a towel to air dry; ensure they are fully dried before reassembling the parts and refilling your pitcher with filtered water.
Rinse filter
Rinse the filter with cold water for about 30 seconds. This removes any excess dirt or particles that may be on the filter before continuing with cleaning.
Flush new Brita filter (if replacement is necessary)
If you need to replace the existing filter, fill up the new one with cold tap water and allow it to sit for 15 minutes. This will help activate the filter’s carbon granules before use.
Attach filter
It’s important to attach the filter correctly for the water filtration system to be effective.
Attaching a new filter into a Brita pitcher is quick and simple. You’ll need your cleaned pitcher, filter, and some cold tap water.
- Remove the lid of the pitcher and insert the filter with the black side facing down towards the bottom of the pitcher. Push down firmly until you hear a light click sound, indicating that it’s securely attached.
- With your Brita filter securely attached, you can refill your pitcher with water from the tap.
- Simply fill it to the top and replace the lid.
Activate electronic indicator (if applicable)
Finally, you can now enjoy drinking from your Brita pitcher. Turn the electronic indicator on (if applicable) and place the pitcher away from direct sunlight to avoid algae. You can also set the pitcher in the refrigerator.
Things to Remember When Cleaning Your Brita Pitcher
When it comes to cleaning your Brita pitcher to get great-tasting water, there are a few key things to keep in mind. By following these tips, you can increase the lifespan of Brita filters.
Brita pitcher and its parts are not dishwasher safe
Brita filters and their parts are popularly used in households worldwide. However, it is important to note that these pitchers are not dishwasher-safe and should never be put in a dishwasher. Doing so can cause damage to both the pitcher and its parts due to the dishwasher’s high temperature.
Additionally, this would void any warranty associated with the product.
Do NOT use abrasive cleaners.
Abrasive cleansers can damage the surface of the pitcher and wear away at any protective coating that may be present. Additionally, they can leave a residue that may affect the taste of filtered water from the pitcher. So, avoid using abrasive cleansers or scrub pads to clean it.
In addition, Do NOT use bleach. Bleach will damage the pitcher and its parts and leave an unpleasant smell after the water is filtered.
Always remove the filter from the pitcher before washing
It is essential to remove the filter before washing the pitcher. Failure to do so may damage the filter, leak, or spillage while washing. When hand-washing, be sure to drain all water from the pitcher first.
Install the reservoir and lid correctly.
Additionally, it is also vital to install the reservoir and lid correctly. The lid must be placed on top of the reservoir.
When to Clean Your Brita Pitcher?
It is recommended that you clean your Brita pitcher every two weeks. This will help ensure that no unwanted substances have built up inside the filter or reservoir due to sediment or other particles that may have been present in your tap water supply.
Additionally, you should check each part of the unit regularly for discoloration and any signs of mold growth which can occur when moisture builds up inside the reservoir after prolonged use without cleaning.
How to Prevent the Growth of Molds in Your Brita Pitcher?
Molds can grow in a Brita pitcher and cause unpleasant smells, discoloration, and even health risks. While no pitcher is completely immune to mold growth, there are several methods you can use to reduce the chances of this happening.
- First, it’s important to clean your Brita water filter frequently. This will help remove any residue that could lead to the growth of molds or bacteria. It is recommended to clean it thoroughly with warm soapy water every two weeks.
- Additionally, replacing your filter every two months will eliminate any bacteria present in the system.
- Also, keep the spout of the pitcher closed after every use.
- Finally, do not use untreated well water with your Brita filter pitcher.
Conclusion
Cleaning your Brita Pitcher is easy and simple. You need to remember to clean it thoroughly with warm soapy water every two weeks and change the filter every two months. Also, do not forget to rinse the pitcher before each fill-up. If you take these steps, your pitcher will last longer and your water will always taste good.