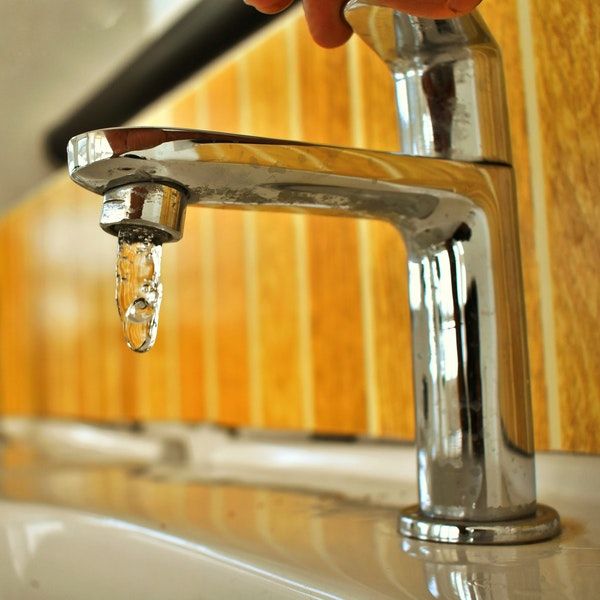
Why Does a Kitchen Faucet Leak?
A leaky faucet is a very common problem and there can be numerous reasons for it. You must know all of them so you can always detect the reason for a dripping faucet.
Corrosion of the Valve Seat
We have a valve seat in a compression faucet that forms the connection from the faucet spout to the water system.
Mineral deposits can corrode this valve seat, leading to leaky spouts.
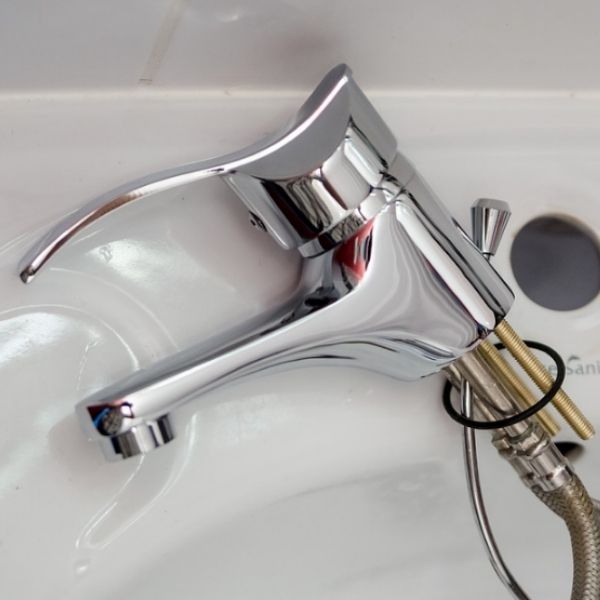
Problems with the O-ring
A stem screw is responsible for holding the faucet handle in place. A small disc called an o-ring is attached to this stem screw.
Usually, it is responsible for sealing the faucet, but with time it starts coming loose.
This can lead to water leaks near the faucet handle. This most commonly occurs in a cartridge faucet.
Installation Issues
Incorrect installation of the faucet body and wrong seals and washers also result in a leaky faucet.
Ensure that you follow the instruction manual by the faucet’s manufacturer thoroughly while installing to prevent any such problems.
Washer Wear
The compression faucet has another common issue. The constant friction between the internal washers and the valve seat can cause the rubber to become less effective. This also results in a leaky faucet.
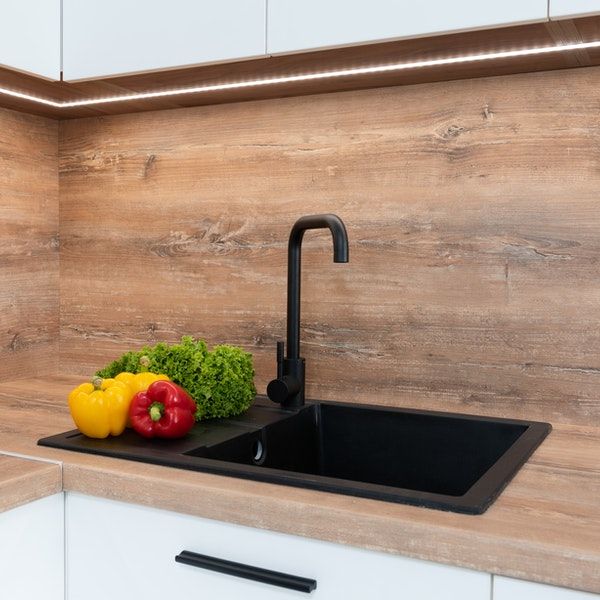
Types of a Kitchen Faucet
Kitchen faucets have many different designs, not just externally, but the internal systems are also different.
They have four different types that we will take a look at in this article.
Compression Faucet
This is a double-handle faucet with one each for hot and cold water. This feature makes it easy to recognize anywhere.
The water supply is generally from a central spout which from where it then divides up into hot and cold water.
The following three faucets are all single-handle faucets, so one might confuse them. They differ in their internal workings, however.
Ceramic Disk Faucets
Ceramic disk faucets are cartridge-style faucets. Below the handle is a faucet cartridge that has a ceramic disc.
These ceramic disc faucets are the latest type of development in the modern faucet industry.
These faucets mix cold and hot water inside a mixing chamber.
Cartridge Faucet (Single Faucet Handle)
This type of faucet has a cartridge straight under the faucet handle. This cartridge controls the water flow in the faucet.
This is usually the standard faucet we find around us. It can also sometimes have problems with the o-rings.
Ball Faucet
The ball faucet comes with a ball joint that is responsible for controlling the water flow. The ball comes with slots, o-rings, and rubber seals.
These faucets are washerless.
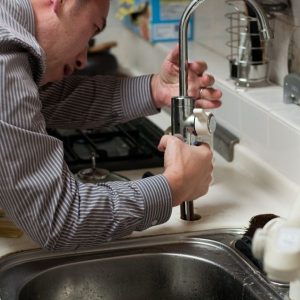
How Do You Fix a Leaky Faucet?
The water pooling under your sink will just get out of hand someday. To save yourself from future tensions, learn to fix a leaky faucet today.
It can sound hard but can be surprisingly easy once you get into it. The steps might differ a little depending on each faucet type.
Necessary Tools
- Adjustable wrench
- Penetrating oil
- Extra washers and o-rings
- Flat-head screwdriver or Phillips screwdriver
All these tools, materials can be found easily at your local hardware store. They might also already be in your home repair kit.
Fixing a Compression Faucet
- The first thing to do is turn off your water supply from the handles above the sink and the knobs below the sink. This will save you from a lot of mess once you start working on the leak.
- Use the flat-head screwdriver to remove any decorative cover on the handle knobs.
- Use the penetrating oil to loosen and unscrew the screw underneath each knob. After that, remove the handle from the stem.
- Use your adjustable wrench to remove the packing nut and then remove the stem. This will depend on the type of faucet but this will not take up a lot of your time.
- Examine the washer and o-ring present inside the valve as they might cause the leak if everything else seems intact. Remove the washer and replace it with a new one.
- The last step is to reassemble the faucet in the exact order that it was taken off (washer/o-ring, stem, packing nut, screw, and handle). Then check if the leak is fixed, there is a high chance it might be.
Important Note
First, you need to check what type of washer and o-ring will fit your tap to make sure you get the exact one. It would be even better if you took the old o-ring and washer to the store and bought the same ones.
You can even buy a pack of o-rings that has different sizes in them. It will cost a little more but will save you a lot of headaches.
If the leak still persists, there can be other problems such as corrosion in the valve seat, worn-out or loose parts, and broken plumbing.
It might be time to call an actual plumber to put an end to your worries.
Fixing a Ball Faucet
It has almost the same steps as fixing a compression faucet, except for a few extra components that you will have to take off.
With this kind of tap, just replacing the o-rings or the washers might not be enough, you have to go a step further.
You may have to install new valve seals and springs. You do this by fitting each spring with a seal and then attaching it inside the faucet body in the right place. You will also have to set screw them in place with the help of a screwdriver.
(Make sure the water supply is still off while all this is happening)
You also might have to replace the ball. Make sure you align the peg on the ball with the faucet housing slot. Place the plastic cam washer on the ball and lever.
Press this into the place.
Reassemble the faucet. Turn on the water supply from under the sink to check if the leak has been fixed.
Fixing a Cartridge Faucet
You will need a few extra materials for this:
- A small allen wrench
- Channel-lock pliers
- Utility knife
- Plumbers grease
- Replacement cartridge valve
Remove the lever handle and the retaining nut. Sometimes the retaining nut might not be visible, and you will have to remove a few extra components to get to the retainer nut.
Then you have to remove the cartridge retaining clip.
Removing the old cartridge is the next step, and it can often get hard because of all the deposits that might be stuck here. Often the new cartridge kit comes with a plastic tool that can help you with this.
Place the new cartridge in place of the old one. You will need the plumber’s grease in this process. Apply a light coating of the plumber’s oil to the o-rings and seals on the cartridge
Make sure the cartridge you purchased is the right one. Taking the old one to the store always helps in this situation.
Reassemble everything back into place. Turn on the water supply from under the sink to check the leakage.
Fixing a Ceramic Disk Faucet
After turning off the water, you will have to loosen the set screw using the wrench.
After the set screw comes off, you can remove the handles.
To loosen up the entire cartridge, you will need large slip-joint pliers. Remove the cartridge by gently lifting it.
Remove and clean the seals and the seal seat area. Do the same for the o-ring and insert it into the tap after coating it with silicone grease.
Reinsert the cartridge and replace everything else. Turn the water on from under the sink to check for leaks.
Extending the Life of Your Kitchen Faucets
Now you know how to fix leakages, but sometimes the repair might not work. If your kitchen tap has been worn down by time, a repair will do nothing.
This is why we assembled the following tips for you to take care of your kitchen tap. By using these, you can make sure they live a longer life.
1. Checking the Aerator
The aerator is a small metal or plastic disc that creates streamflow of air and water. Sometimes it can get clogged up. You can easily remove this part and regularly rinse it through the water to loosen mineral deposits. A clean aerator helps your tap function much better than it usually would.
2. Good Treatment
Do not use too much pressure on the poor equipment. Treating it with care is essential to prevent any untimely problems from popping up.
3. Keeping an Eye on the Pressure
Nothing stops working in a day; there are always hints beforehand. One of them is a pressure drop in your water flow. Keep an eye on the pressure of your water and if you feel like it is dropping, take a look into it. It can be a sign of buildup. This internal buildup also damages other parts of the tap, so make sure you take immediate action when you feel the pressure dropping.
In the End
Even the best kitchen faucets can often have issues; this is why you must check all the components regularly and address them as soon as you suspect something.
This article addressed all the essential steps you can take in this regard. If you maintain your faucets properly, you will not face a lot of problems.
If you do, you know who to come to!