How to Install a Shower Head Filter?
Installing a shower head filter is an essential step in improving the quality of your bathing experience. Not only does it remove impurities and chemicals from your water, but it can also prevent dry skin and hair, reduce exposure to chlorine, and even improve your family’s overall health. Here is a list of the best shower filters you may want to go through.
Follow this step-by-step guide when installing a shower head filter:
Remove the old showerhead
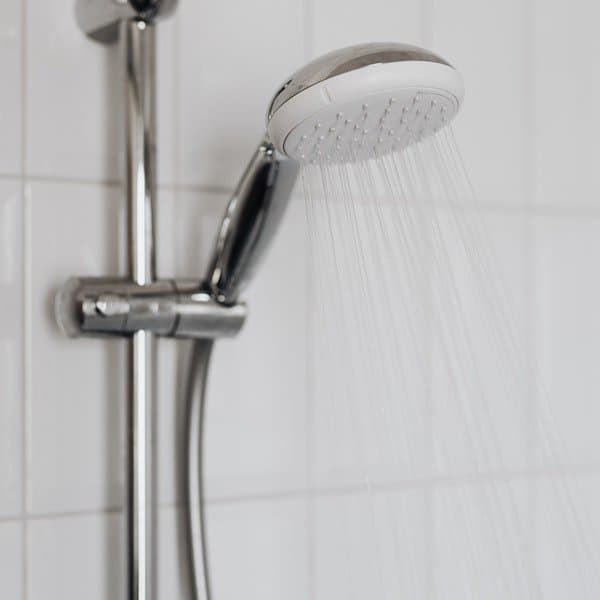
But before you install a new shower head filter, you need to remove the old one. This might seem daunting if you’re unfamiliar with plumbing, but it’s quite simple. First, turn off your water supply at the main valve to prevent leaks or accidents. Once that’s done, use an adjustable wrench or pliers to loosen the nut that connects the shower arm to the old shower head. Then remove the existing shower head from the shower mount.
Seal the threads with the plumber’s tape
After cleaning up the base, it’s crucial to seal the shower arm threads where you’ll install your new filter with the plumber’s tape. The tape helps prevent leaks by ensuring a tight fit between your plumbing and your new filter. Simply wrap plumbers tape around each thread before screwing in your new showerhead filter.
Flush the new filter
Before attaching your new shower water filter, it is important to flush it out. This step is often overlooked but can significantly affect your filter’s performance over time. Flushing your filter helps to remove any debris or sediment that may be trapped inside, which can improve water flow and prolong the life of your filter.
To flush your new shower head filter, turn on the cold water and let it run through for several minutes until it is clear.
Attach the new showerhead filter
Once you’ve flushed the new filter, attach your new showerhead filter. Tighten it by hand until securely in place, but avoid over-tightening, as this could cause damage to both the filter and the showerhead arm.
How to Install an Inline Shower Filter?
An inline shower filter is an easy-to-install apparatus that fits onto the water supply line of your showerhead. It works by filtering out impurities and contaminants from your tap water before it reaches your body, leaving you with cleaner and safer water for bathing. It’s a great solution to reduce the amount of chlorine, heavy metals, and other substances in municipal tap water.
Installing an inline shower filter for filtering your shower water can be a quick and easy way to improve the quality of your water. Here’s how to install an inline shower filter:
Remove the current showerhead
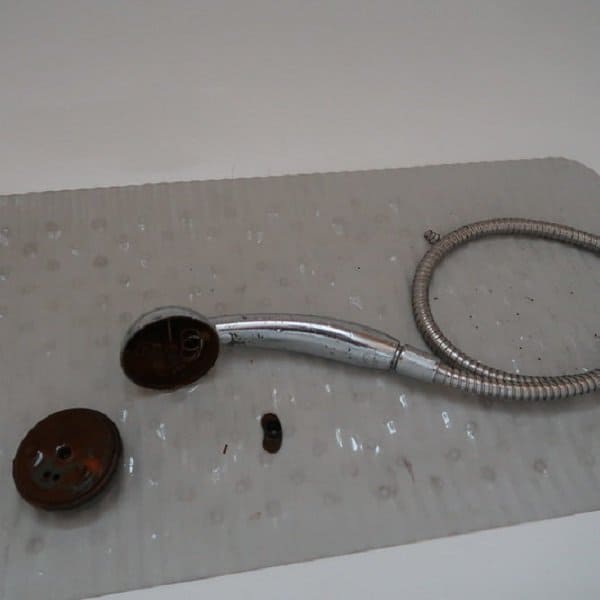
To remove your current shower head, start by turning off your water supply and unscrewing the head from its fitting using pliers or a wrench if necessary. Hold onto any washers or gaskets that come loose during removal to reuse them when attaching your new filter.
Seal the threads with a plumber’s tap
Next, it is recommended that you seal the threads with the plumber’s tape before attaching your new inline filter. This tape can help prevent leaks or other issues that may arise during use, keeping your filter working effectively for longer periods.
Attach the shower filter
Once you have sealed the threads, then the shower filter attach process comes. Start by screwing one end of the filter onto the showerhead or shower pipe, ensuring it’s nice and tight. Then, attach the other end of the filter to your showerhead using a wrench or pliers if necessary.
It’s important to note that not all inline shower filters are created equal. Some may require additional attachments or adapters to fit properly into your plumbing setup. So before beginning installation, don’t hesitate to ask for professional assistance!
Flush the new filter
Flush the new shower filter with water before turning your shower on. This will ensure that all of the mineral build-ups are flushed away, and your shower will be running clear in no time!
Put the showerhead back
Then, you can reattach your shower head to the filter. If you’re using a handheld showerhead, this may be as simple as screwing it back into place. If you have an adjustable-height showerhead, adjust it to the appropriate height before turning on your shower.
How Often Should You Replace a Shower Filter?
The frequency of replacing a shower filter depends on several factors, such as the level of impurities in your water supply and the amount of use your shower gets. Typically, manufacturers recommend changing the filter every six months. If you have hard water or live in an area with high chlorine levels or other chemicals, you may need to replace the filter more frequently.
Can a Filter Be Installed on Any Showerhead?
Most showerheads have a threaded connection that allows for easy filter installation. However, finding a compatible filter may be challenging if your shower heads have an unusual shape or size. Additionally, some filters require certain water pressure levels to function properly, so checking if your water pressure is suitable for the filter you’re considering is essential.
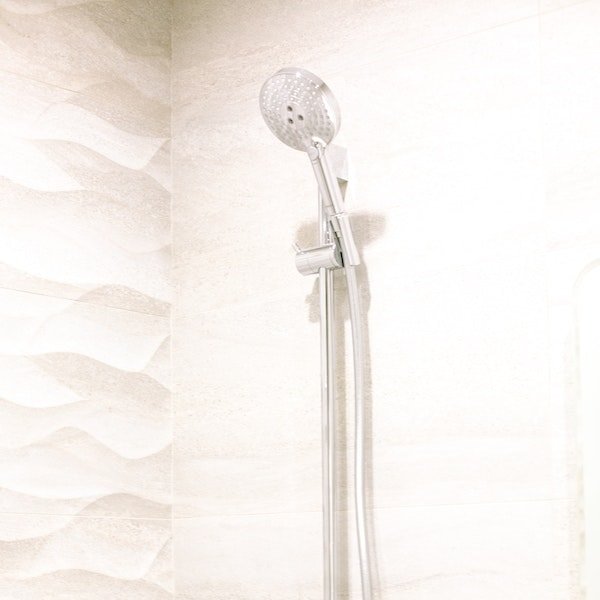
Can You Add a Shower Filter to a Handheld Shower?
Yes, several options are available for those looking to do just that. One popular choice is a universal handheld shower filter that can be easily attached between the hose and the showerhead. These filters typically use activated carbon or KDF media to reduce chlorine, heavy metals, and other contaminants in the water.
Conclusion
Installing a shower filter is not only an important step in maintaining healthy skin, but it can also help to improve the quality of your overall shower experience. With the right tools and a bit of patience, you can easily install a shower filter yourself. If there is any doubt or confusion about the installation process, feel free to contact a professional plumber for help. This simple investment in your health and well-being will be well worth it!