How to Use Brita Pitcher for the First Time?
Does Brita work? Brita pitchers provide an easy way for people to filter and drink water straight from the tap. Their filters are certified to remove chlorine taste and odor. Brita filters can also remove other common water contaminants depending on the type of filter.
Brita filtration process is straightforward. To start a Brita pitcher for the first time, follow these simple steps:
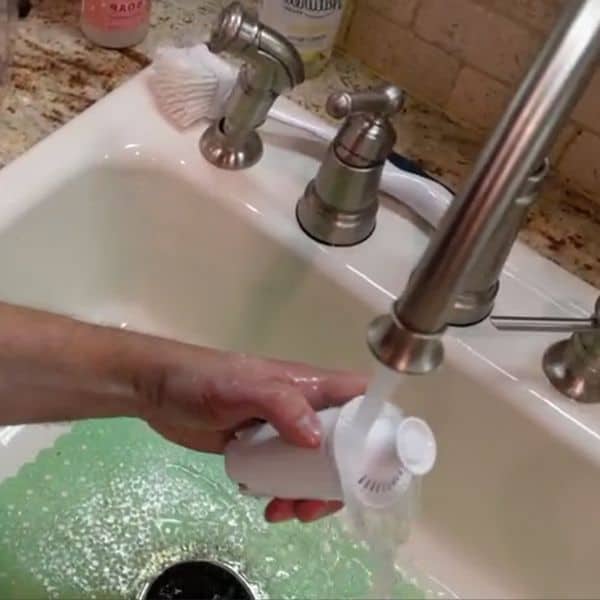
Handwash pitcher
Are you thinking of using a Brita Pitcher for the first time? Keep in mind to handwash your Brita pitcher every time. Begin by disassembling the pitcher. Remove the lid and the reservoir and wash them using mild soap and warm water. Gently scrub the parts with a cloth or sponge. Rinse well with clean water.
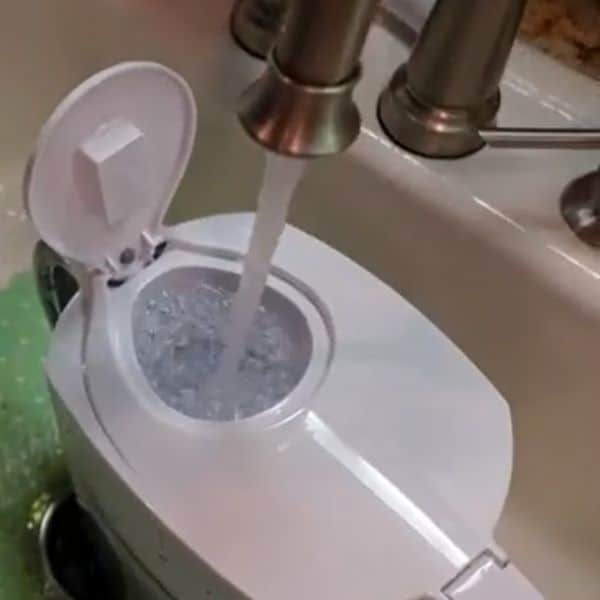
Rinse filter
Brita Standard and Brita Stream filters have to be rinsed for 15 seconds under cold water before inserting them into a Brita pitcher. You can skip this step with Brita Elite filters as no pre-rinse is required.
Attach filter
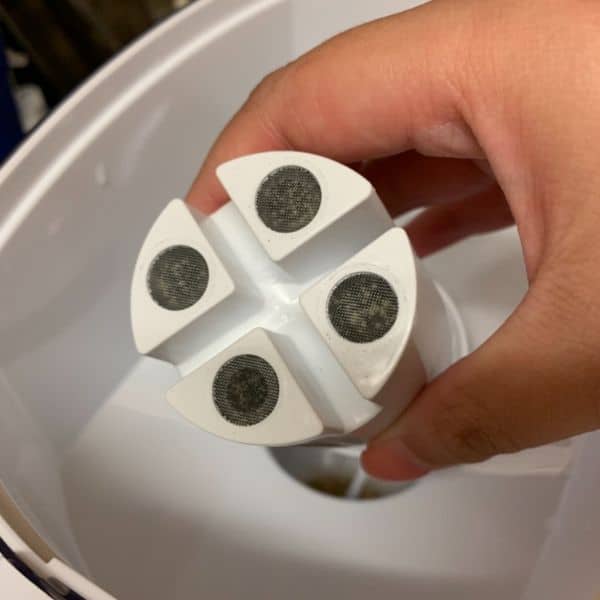
After washing and rinsing the pitcher, it’s time to attach the filter. With Brita Standard and Brita Elite filters, line up the groove in the filter with the ridge in the reservoir. Press firmly until you feel that it is secure. Be sure not to twist or turn as this may damage the unit.
With Brita Stream filters, insert the filter into the filter cage until you hear a click sound. Then attach the filter cage to the lid by twisting it.
Activate Electronic Filter Indicator (select models only)
Electronic Filter Indicators are available on select models. Press the STATUS button on the pitcher for 5 seconds to activate the electronic indicator. The three lights—red, yellow, and green should blink together. Release the button until all the lights stop blinking. If the green light blinks when you pour a glass of water, your filter indicator works.
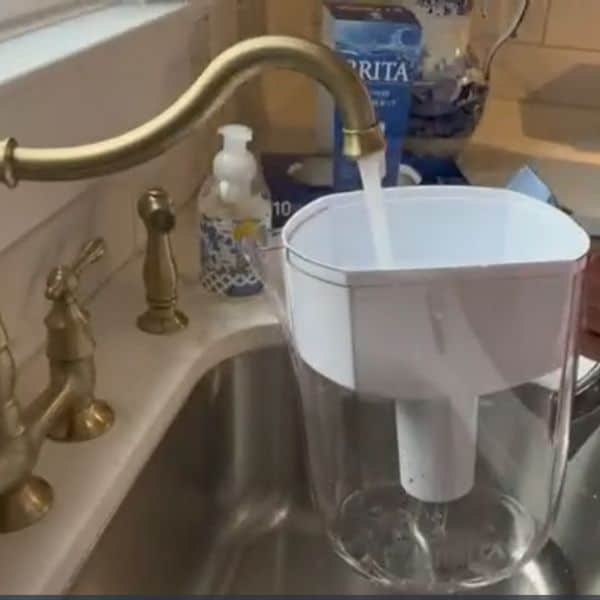
Fill the reservoir with water.
Once done, fill your pitcher with cold tap water. Brita recommends discarding the first three containers of filtered water that might contain carbon dust. Keep the lid of your Brita pitcher closed when not in use to avoid the contaminants present in the air.
How to Replace Brita Filters
Replacing the filter of your Brita water pitcher is an essential part of its maintenance. Not only does a new filter provide you with fresh tasting, filtered water, but it also helps to protect the environment from plastic waste.
- To replace your Brita filter, start by identifying the type of filter that came with your model. Brita Standard filters and Brita Elite Filters (Longlast Brita Filters) work with all Brita pitchers and dispensers. However, Brita Stream filters are only compatible with Brita Stream pitchers.
- Once you’ve identified the right fit for your pitcher, pull out the old filter and discard it responsibly (in recycling, if possible).
- Rinse the new filter with cold water for 15 seconds (Brita Standard and Elite filters only) and insert the filter into the reservoir.
How Often Should You Change Brita Filters?
A review of Brita pitcher filter indicates that it is important for water filter users to replace the filter in their Brita pitchers or faucet mounts regularly. How often should you change a Brita filter?
Brita Standard and Brita Stream filters must be replaced every 40 gallons of water or about two months of use. On the other hand, Brita Elite filters should be replaced after it has filtered 120 gallons of water or about six months of use.
Of course, if your source water contains high levels of harmful contaminants, it’s smart to change the filter more frequently. Additionally, if you notice any changes in taste or odor from your filtered water or your filters slowly filter water, it’s time to switch out the filter.
Things to Remember When Using Your Brita Pitcher
There are some key things to remember to ensure you get the most out of your pitcher. Here are a few tips for keeping your Brita in tip-top shape:
Keep your Brita pitcher away from bright sunlight
Direct sunlight can cause the ultraviolet rays to break down the plastic components of the pitcher over time, leading to cracks and potential leakage. Additionally, exposure to direct sunlight could encourage algae growth in the water reservoir.
While green algae (Chlorophyta) are known to be harmless, they can clog filters and affect the filtration of your water. To avoid this problem, it’s best to store your Brita in a cool, dry place that is away from bright sunlight.
Fill the reservoir with cold pre-filtered water only
Using hot water can cause damage to the filter as well as reduce its effectiveness overall. Brita also recommends using pre-filtered water to extend the life of your filter. It also pays to have your water tested before choosing the best Brita filter that will address the contaminants in your water.
Since Brita filters do not filter out bacteria, viruses, and other pathogens, removing them from your source water is best, especially if you’re using well water.
Do not wash Brita Pitchers in the dishwasher.
For one thing, the filter contains activated carbon granules that will become damaged if exposed to high temperatures in the dishwasher. This can cause bacteria growth and leave an unpleasant taste in your filtered water.
Additionally, plastic components on some pitchers can also melt when subjected to heat from the dishwasher cycle.
Do not use abrasive cleaners.
Many people make the mistake of using abrasive cleaners when cleaning their Brita pitchers. The rough surface of most scouring pads can cause damage to the surface of the plastic pitcher. As the scratches become deeper, they could accumulate dirt and other contaminants and are a hassle to remove.
Conclusion
Using a Brita pitcher is an easy and cost-effective way to ensure that the water your family consumes is clean and tastes great. Of course, regular cleaning and filter replacements are essential to ensure your pitcher continues to do its job properly. By doing so, you are confident that your Brita pitcher will provide healthy water for years.