How to Set Up a Pur Water Filter?
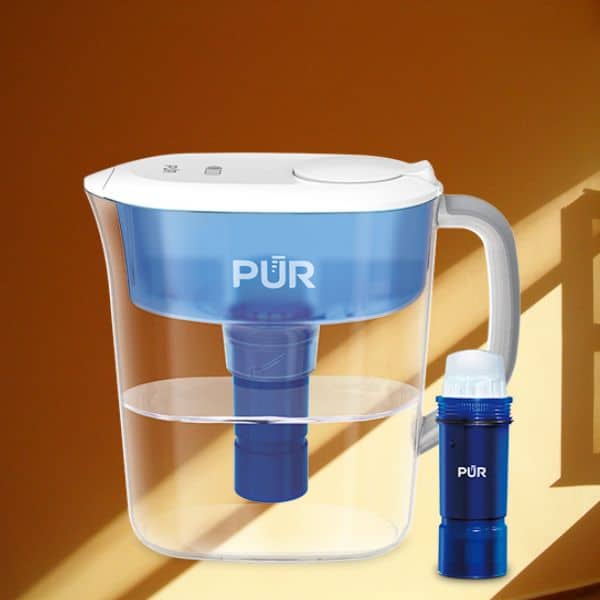
Setting up a PUR water filtration system can be an easy and efficient way to get clean, filtered water for your home or office. With just a few straightforward steps, you can drink crystal-clear water quickly.
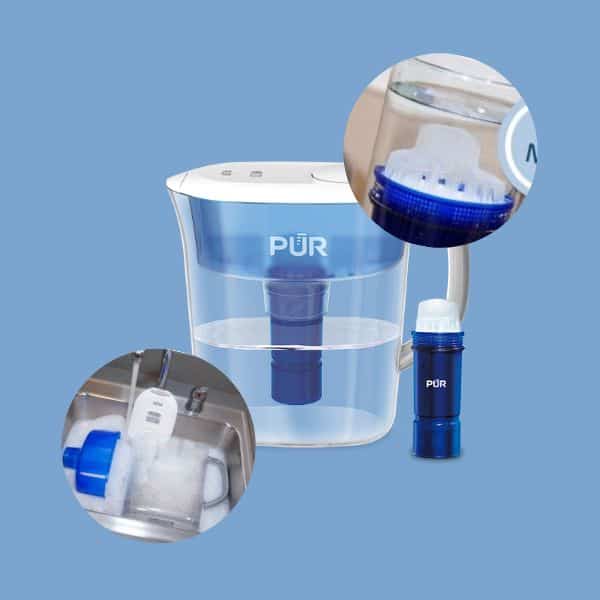
Setting up a PUR pitcher with PUR basic filter
Follow these simple steps to set up your new PUR Basic Pitcher.
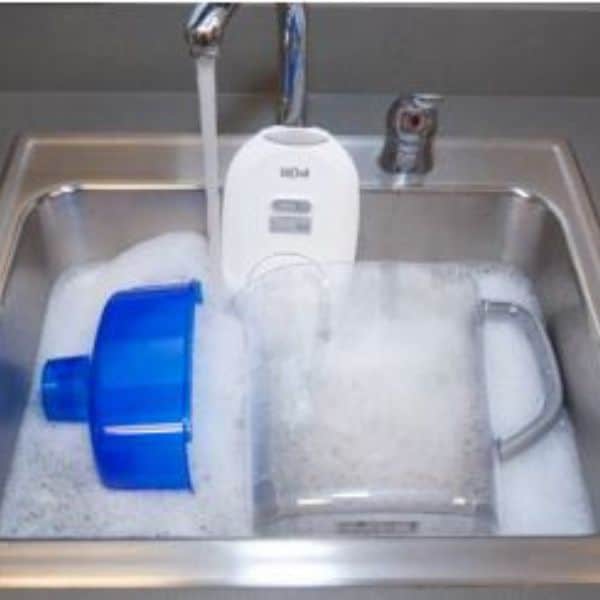
Handwash the pitcher
First, remove the filter change light before washing (10 and 11-cup pitchers). Then wash the PUR water filter pitcher, lid, pour tray, and removable lid (if applicable) with soapy water. Once done, rinse them thoroughly and set them aside.
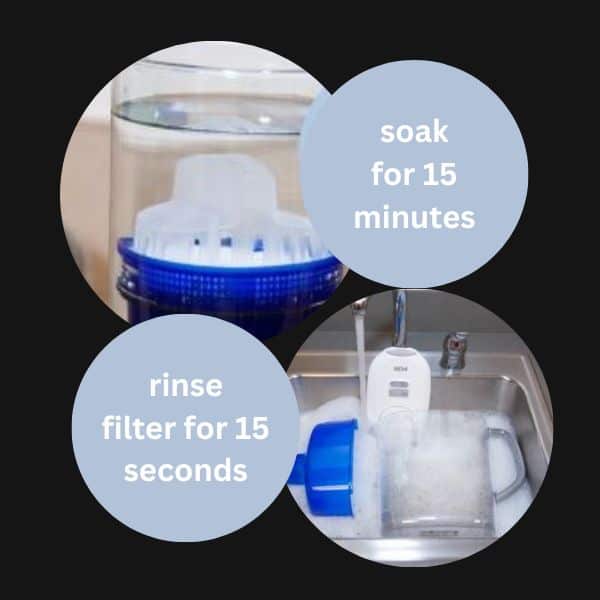
Rinse the filter for 15 seconds
Rinse the filter for 15 seconds under cold, running tap water. This will wash away any dirt or dust accumulated during manufacturing.
Attach the filter
Attach the filter to the pitcher by pushing it into the opening and turning it clockwise. Ensure the filter is securely fastened to the pitcher, with no gaps between the lid and the body.
Fill pour tray with water.
Fill the pour tray with cold tap water.
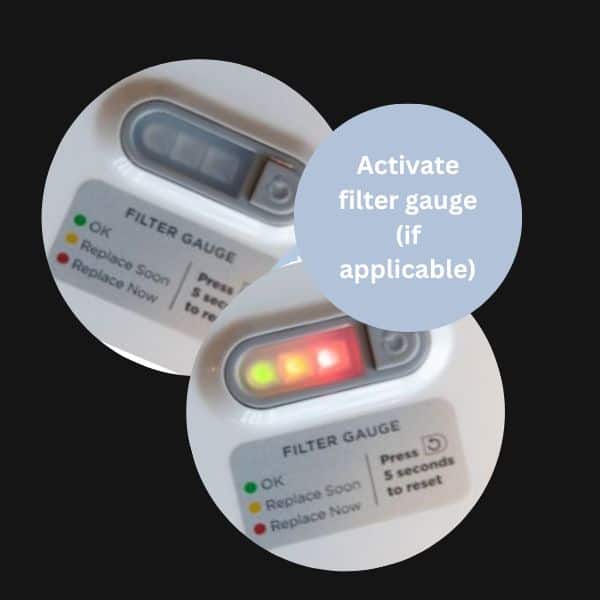
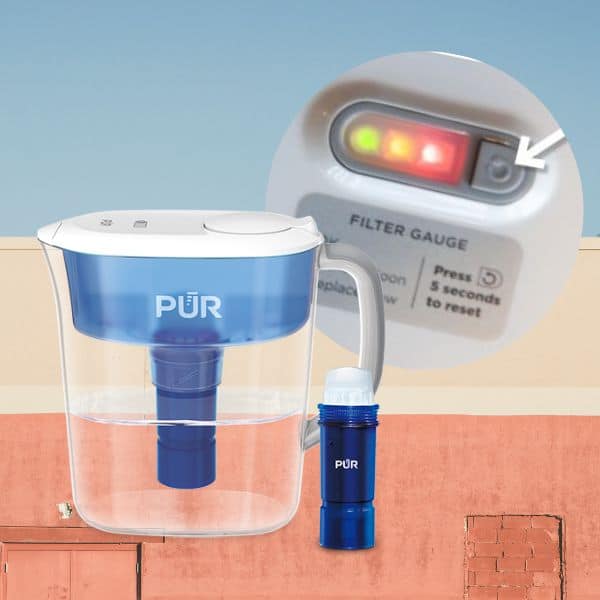
Activate filter gauge (if applicable)
Look for the reset button on the lid of the pitcher. Then, press it and hold for 5 seconds. The red, yellow, and green lights will light up simultaneously. Release the button. The green light will then blink six times, indicating that your PUR filter pitcher is ready to use.
Setting up a PUR pitcher with PUR plus filter
Follow the instructions below when stepping up your PUR Pitcher with the PUR Plus filter
Handwash the pitcher
First, remove the filter change light before washing (10 and 11-cup pitchers). Wash the pitcher, lid, pour tray, and removable lid (if applicable) with mild detergent and warm water. Make sure that you rinse your filter thoroughly before use.
Soak filter for 15 minutes.
Soak the filter for 15 minutes to ensure that your filter will work efficiently. Then, hold the filter under cold running water for 10 seconds. Allow excess water to drain.
Attach filter
Next, attach the filter to the pitcher by pushing it down and turning it clockwise to lock it in place.
Fill reservoir
Fill the reservoir with cold tap water and wait for the filtered water to fill the pitcher. Wait to pour out the water until the reservoir is empty.
Activate filter gauge (for select models)
Locate the reset button on the pitcher lid and press it for 5 seconds to activate the filter indicator. The red, yellow, and green lights will light up simultaneously. Release the button. The green light will blink six times, indicating that your PUR filter pitcher is ready to use.
Points to Remember When Using Your PUR Water Filter Every Day
To ensure optimal performance, there are some important points to remember when using these water filters daily.
Make sure the reservoir tray is inserted properly
.An improperly attached reservoir can cause the tap water to leak out and flow to the filtered water in the pitcher.
Do not pour water out of the pitcher if the pour tray is full
One of the most important rules is never to pour from the pitcher if the pour tray is full. This simple step can save you from spilling excess water and making a mess!
Filter cold water only
Always filter cold water only, as warm water can damage the filter.
Be mindful of the blinking light of your PUR filter
It’s important to remember that your PUR filter water is equipped with a filter indicator to tell you to change the filter. Like many water filter pitchers with filter indicators, PUR pitchers flash a red light when your filter has to be changed— every two or three months.
How to Replace a PUR Filter?
Changing PUR water filter is quite simple to do. Replacing the filter regularly will ensure that your water remains free of contaminants. Here’s how to replace a PUR filter quickly and easily:
1. For PUR Plus with lead reduction filter, soak the filter for 15 minutes. PUR Basic filters do not require this.
2. Hold the filter under cold running water for 10 seconds. Run cold water for 15 seconds for PUR Basic filters to prime the filter.
3. Insert the filter into the pour tray and lock it in place by turning it clockwise.
4. Fill the pour tray with cold water.
5. If your pitcher has a filter gauge, press and hold the RESET button for 5 seconds. The three red, yellow, and green lights will light up simultaneously. After releasing the button, the green light should blink six times, indicating your pitcher is ready to use.
How to Clean PUR Water Pitcher?
PUR pitcher cleaning instructions
You must follow the basic cleaning instructions such as:
Disassemble pitcher
Take out the filter. Take apart the lid, and pour the tray and pitcher.
Remove the filter and change the light before washing
If your pitcher has a change filter light, remove it before cleaning. You don’t want to damage the filter gauge’s non-replaceable battery.
Wash the pitcher with mild soapy water
Handwash the pitcher and use only use mild soapy water. Also, do not use abrasive cleaners as they can damage the surface of the pitcher. Be sure to rinse all parts thoroughly with water.
PUR Dispenser Cleaning Instructions
PUR dispensers hold more water than PUR pitchers and are available in 30-cup and 44-cup capacities. All PUR filters, the PUR Basic filters, and PUR Plus filters work well with all PUR dispensers.
Follow the details below to clean your PUR dispenser.
Disassemble dispenser
Take apart the lid, pour tray, dispenser, and spigot.
Remove the spigot before dishwashing.
It is essential to remove the spigot from the pitcher before dishwashing. Use the spigot removal tool provided for your convenience.
Wash the dispenser by hand.
Handwash the lid, and pour the tray, dispenser, and spigot with warm soapy water. Use a soft cloth or sponge and gently scrub them. Rinse thoroughly with clean tap water.
Now, you can reassemble all the components of your PUR Dispenser!
How to Reset the Filter Change Light?
The PUR Plus Water Pitcher has a built-in filter change indicator that tells you when to replace the filter. Locate the Filter Change Light, usually on the lid of the pitcher. With PUR dispensers, it can be found on the pull-down tab just above the spout.
Just press and hold the button for 5 seconds. A green light will flash when to reset. Always change the filter if it flashes a red light. This means the filter has reached the end of life at about two months or has already filtered more than 40 gallons of water.
Remember to reset the Filter Change Light after replacing the filter. PUR filter indicators are powered by a non-replaceable battery lasting up to 3 years. Even when the battery has run out, the filter pitcher is functional.
How Do I Know When to Replace My PUR Filter?
The lifespan of a PUR filter depends on your water usage and the number of contaminants in your tap water. Generally, PUR filters should be replaced every two months or about 40 gallons of water.
The filter gauge will tell you if it’s time to replace your present filter. If it flashes a red light, change the filter immediately. Additionally, if you notice any changes in the quality of the filtered water from your PUR pitcher, consider changing the filter.
How to Extend the Life of My PUR Filter?
When drinking clean, safe water, a PUR filter can be invaluable. However, like any equipment, the filter needs regular maintenance and upkeep to ensure it remains in optimal working condition. You can significantly extend your PUR filter’s life with a few simple steps.
- To start, it’s important to make sure the filter is correctly installed.
- Only filter pre-treated water, as PUR filters are not designed to remove microbes.
- Use only cold water, as hot water could damage the filtering agents.
- Wash the pitcher or dispenser regularly to keep them clean and free from dirt, algae or molds. This will limit the exposure of your filter to possible contamination.
- Regularly inspect your system for any signs of wear and tear
- Lastly, replace your PUR filter according to manufacturer instructions – usually every two months, depending on usage – for better filtration performance and longer-lasting results.
Conclusion
Using a PUR water filter is an easy, cost-effective way to ensure that your drinking water is clean and safe. From choosing the right filter for your needs to changing it regularly, following these simple steps will keep your family healthy and hydrated for years.